


Here's the final result of the past 4 weeks. The emulation of the scene in the film was one part of the project, and I decided to push the "film" feel to the photo series treating each image as a scene in the film. Aspect ratios, grain, and color grading were the things I experimented with in the series to do so. Enjoy.
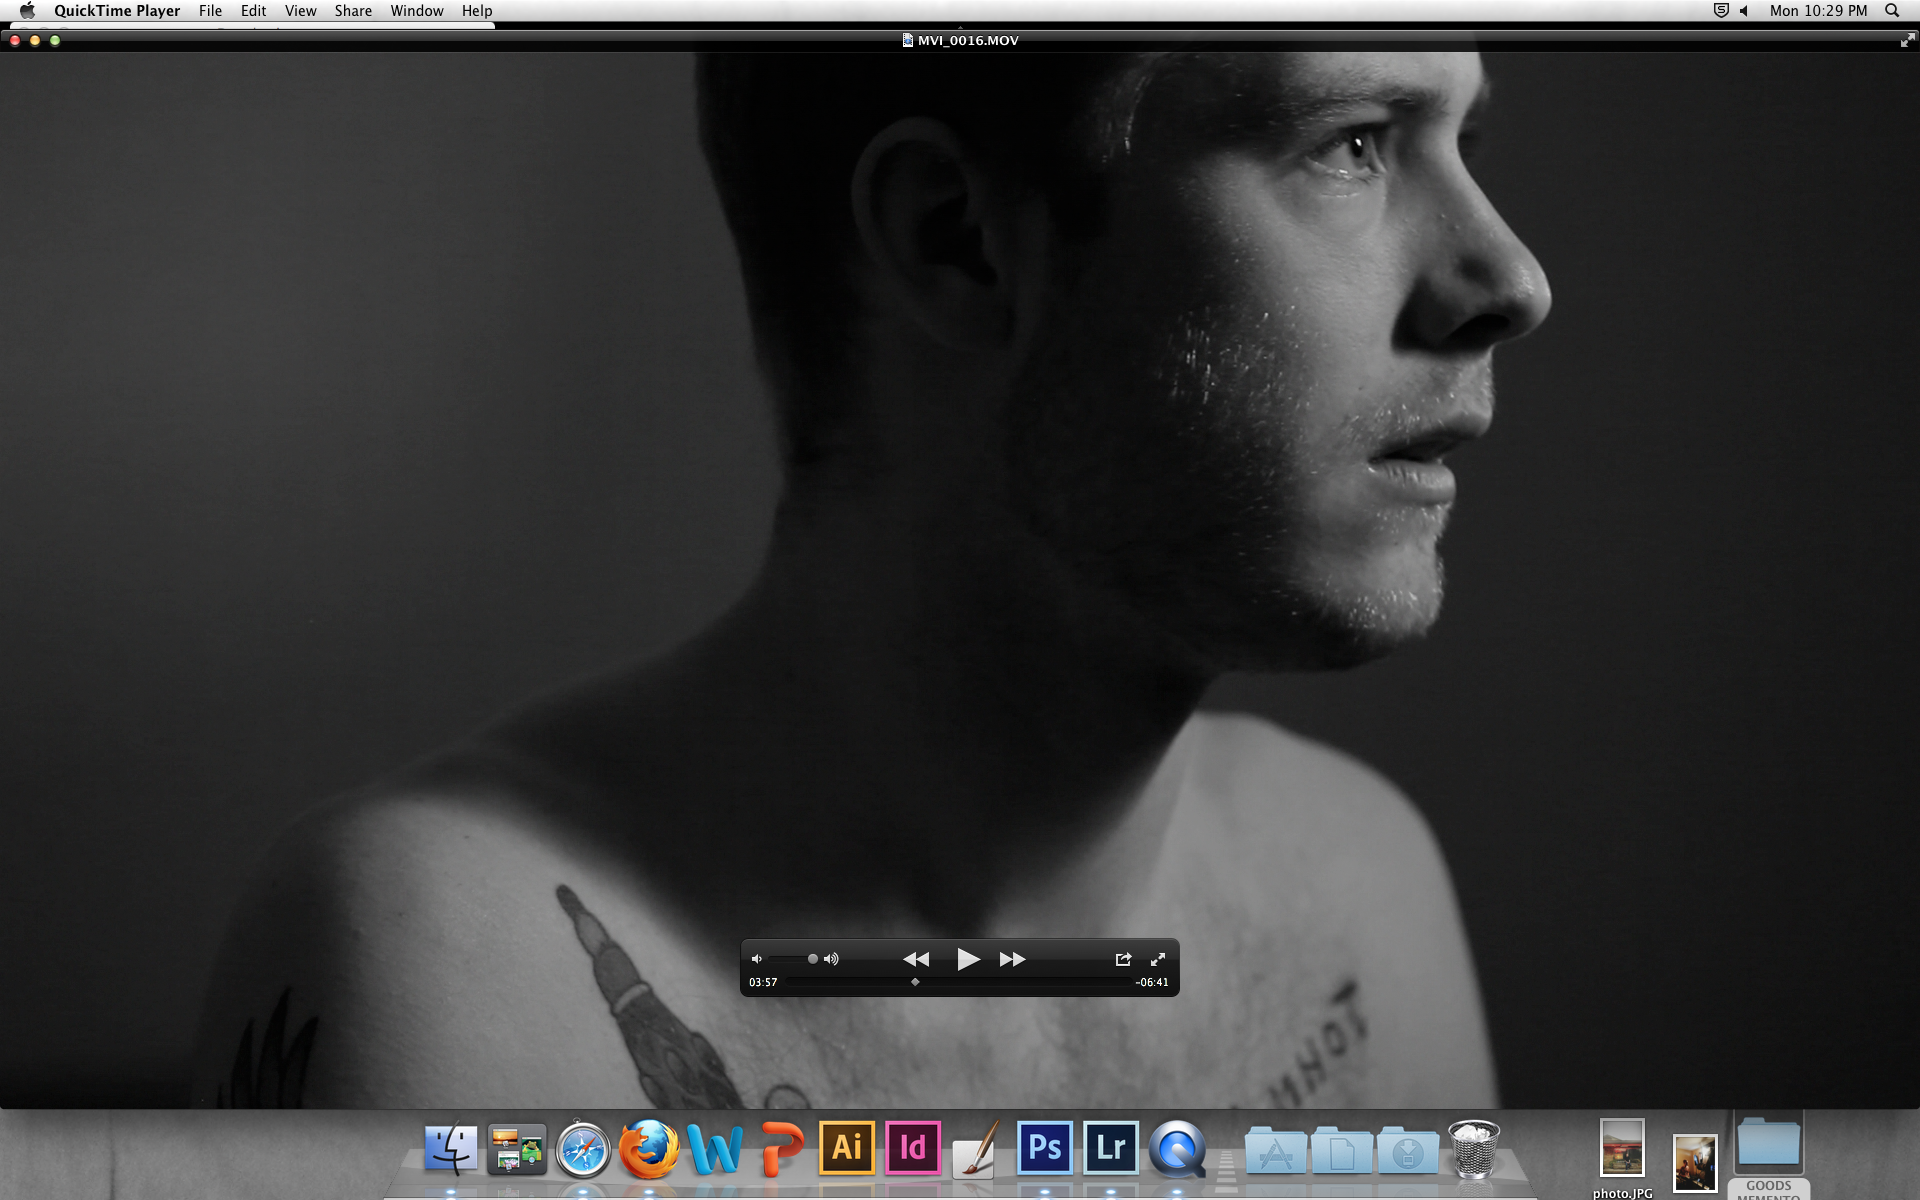
And last but not least, the video emulation and it's predecessor:
This last week has been spent planning production day for the "Memento" recreation. Days spent studying lighting and what resources i'd need in order to properly recreate the scene from "Memento" to the best of my abilities. The lighting study came fairly easily because the week prior I did the exact same on recreating a scene from "Fight Club" so I knew exactly what my capabilities were and how to handle shoot day.
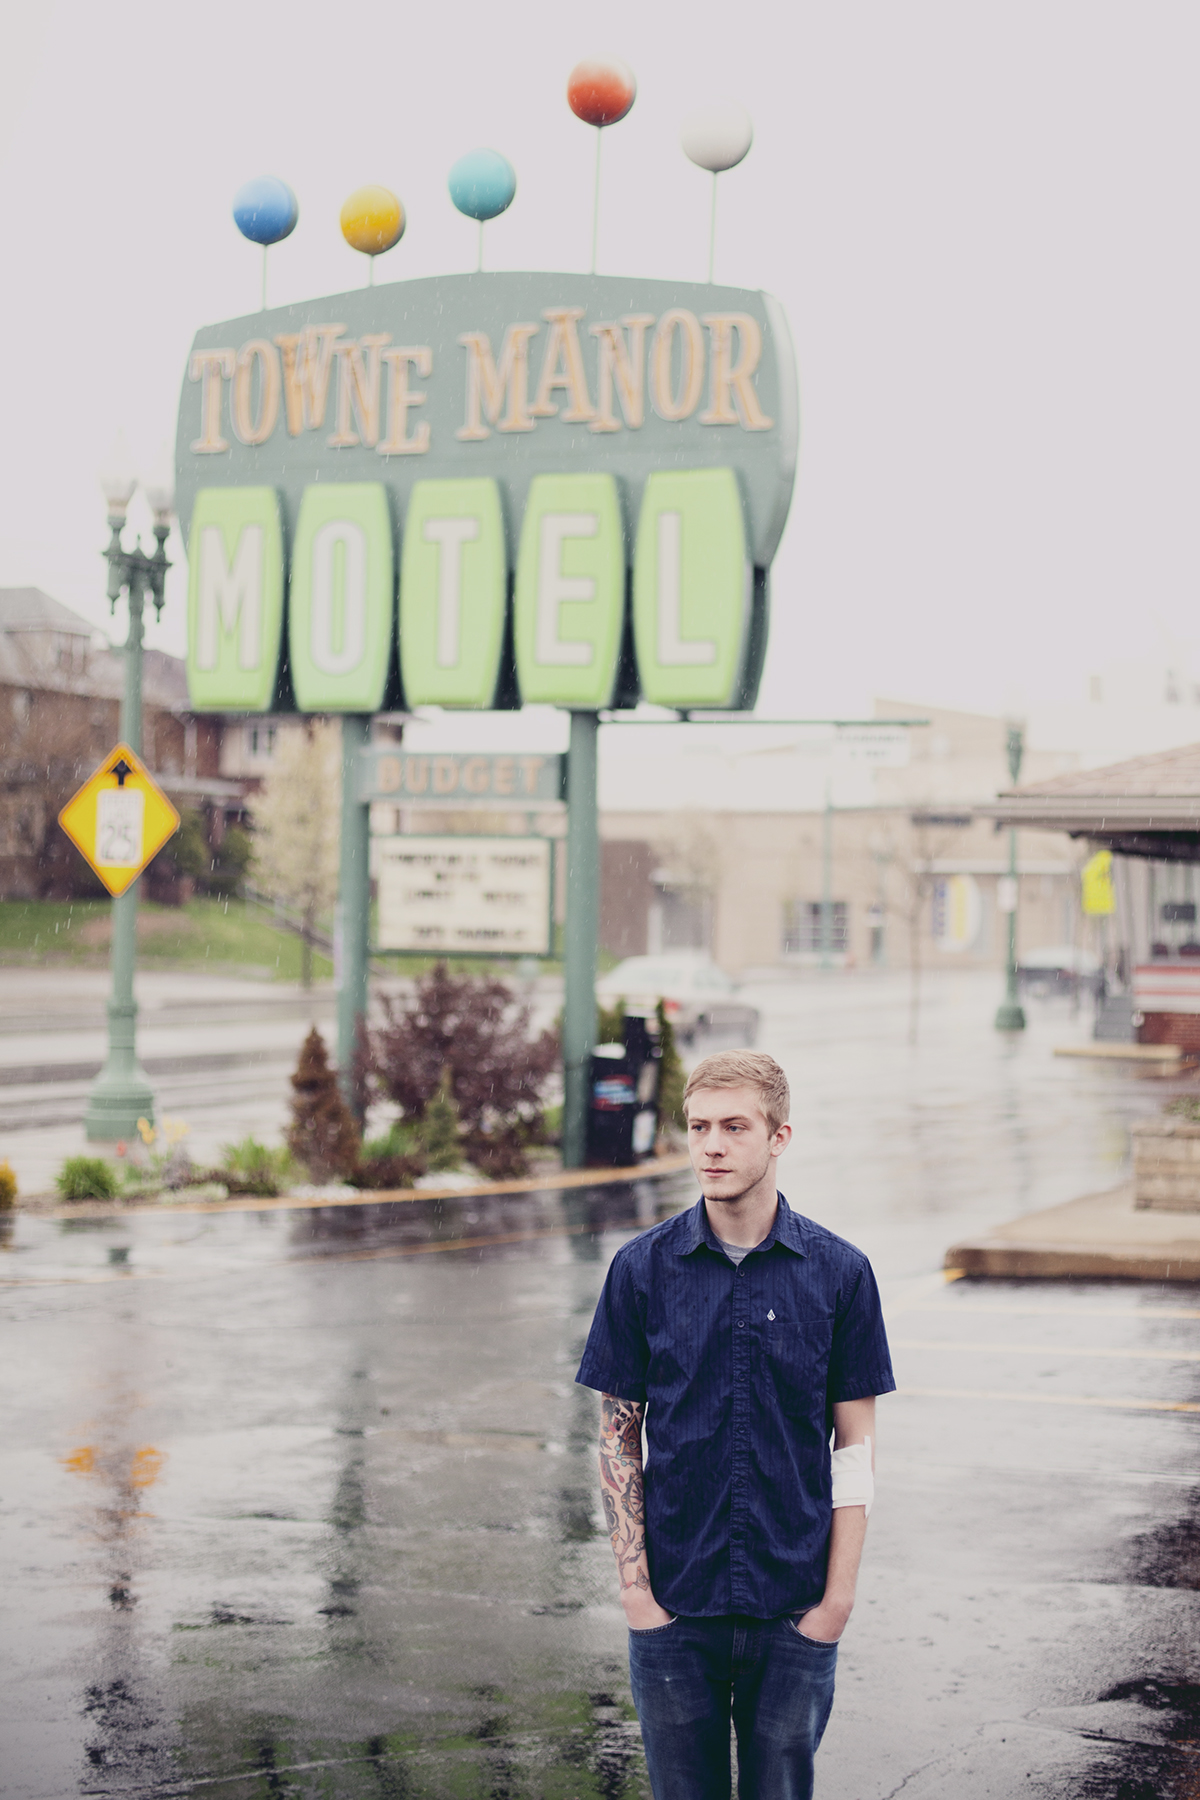
The next step was verifying location before shoot day just in case back up plans were needed from my intended location in Canton, Ohio. The specific spot I had in mind was the Towne Manor Motel due to the vintage 90s feel the entire facility gives off along with the idea the motel resembled the one in the film. My plan of attack was to head to the location and discuss with the owners my plan and it's purpose, getting some confidence and their "ok" for them to be comfortable with the situation and then from there discussing pricing options. I had intended to pay a full-days right for a room simply for the shoot. Much to my surprise, I told my mother of my plans and she told me the owner was a member at the bank she works at and she'd discuss the whole situation to him. Lo-and-behold she talked with him and got the Ok for me to shoot there on the 28th.
The final objective was taking out equipment for shoot day:
After the lighting study I realized I would be able to light the hotel room easily with one light and use natural light through the window, ambient light in the room, bounce boards and reflectors, but I can't account for the scenery of the room because I hadn't scouted the rooms before shoot day so I'd rather be safe than sorry. I grabbed a Lowel Interview Kit for the lights with the barn doors in which would come in handy for bending light and also the modifiers that came in the kit is more reliable than other kits available to me. For back up, I also grabbed the Mole light kit just because i'd rather be prepared for anything, even if it meant setting up 3 more lights or if any of the other lights I had available had busted bulbs I could have a contingency such as more lights to choose from. Along with this I had various bounce boards, gobos, reflectors and clamps.
As for camera, I would be using my Canon 5D Mark II, a 70-200L for the close up footage, 50mm 1.4 for the photo series i'd be doing along with it, and a 24mm 1.4 for a wider shot in the scene. Along with the 70-200, I took out a slider because in the scene there's a slight slide from back to front on the actor that would be moving throughout the entire scene.
For sound I ended up using a set of Lavalier mics.
Shoot day began around 3pm where I met with the owner of the motel, Tim to scout rooms to find one that matched the scene. We looked through 4 different rooms each with distinct styles and window locations which I was paying close attention to for composition sake. The room I chose to shoot in didn't have the same size bay window as the scene in the film, but it was at the same location (right side of room) so I thought more about the source of the outside light more than the size of window itself which would prove to be hardly relevant. After a bit of location scouting of the motel we began set up and shooting.
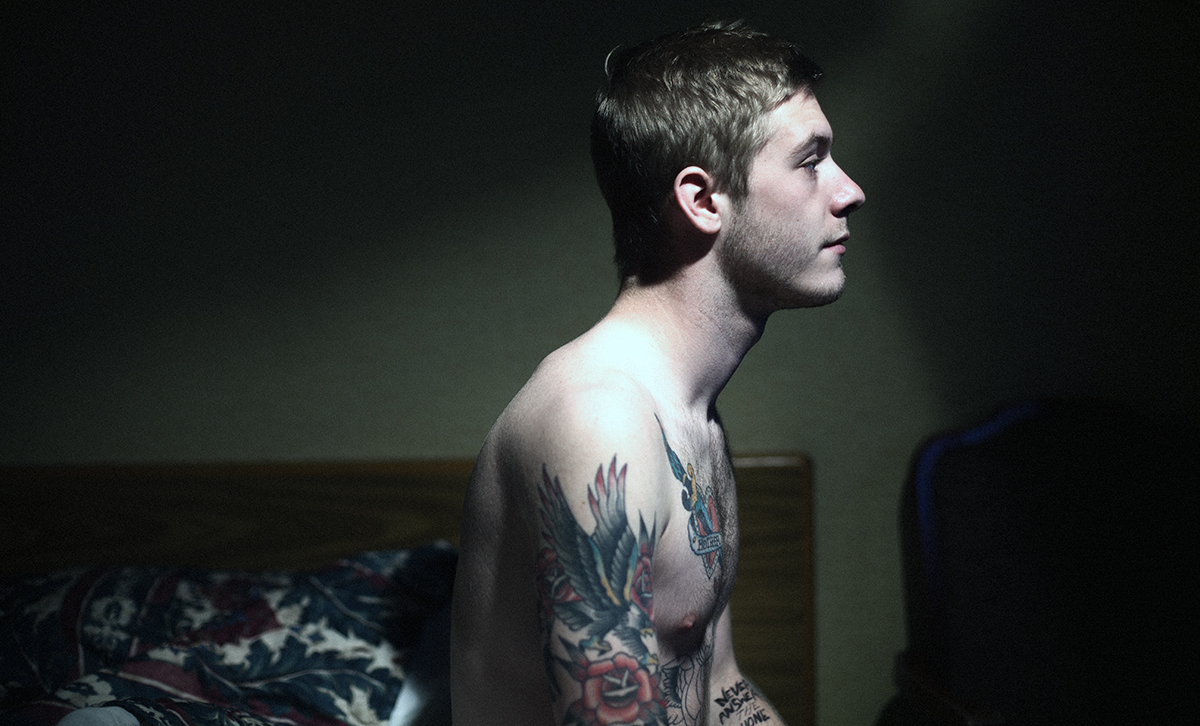
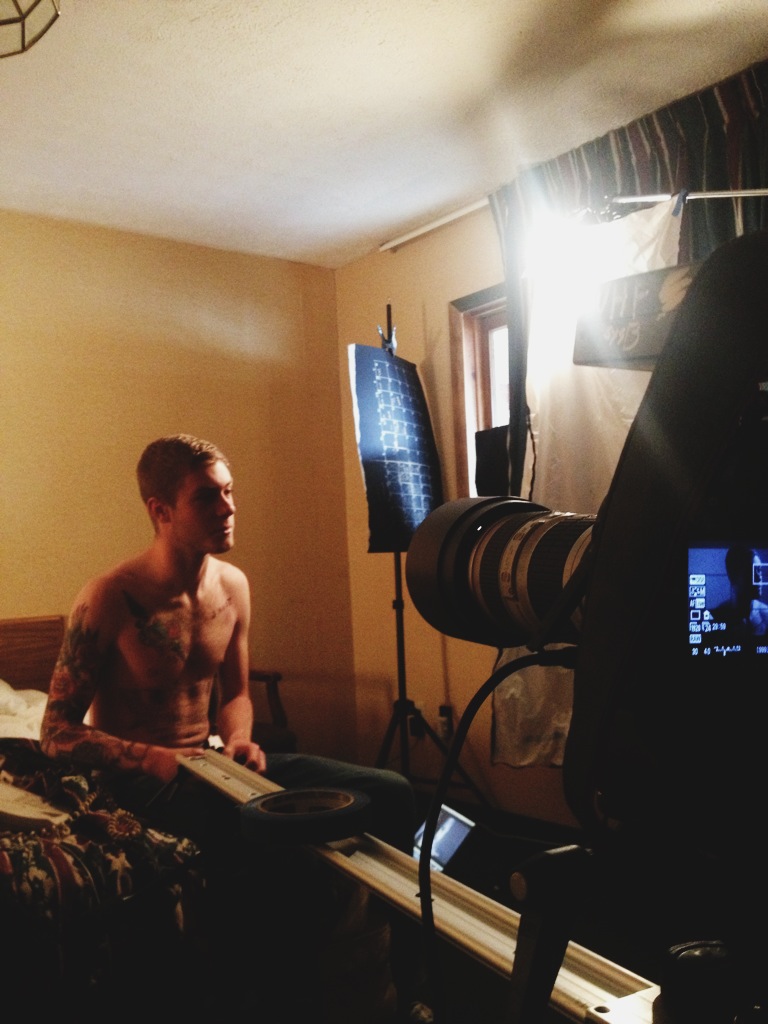
About an hour was spent playing and modifying lights and shaping them to mimic the cinematography in the film. The day was gloomy and cloudy so there was no excessive light coming from the window, which was surprisingly convenient. I played with the curtains to make sure the light only hit the back wall and use a black board to block the outside light from hitting a few unwanted areas. This would act as a background light in the room. The next step was setting up key light that met the same harsh shadows as seen in the film. I would do this via a Lowel 500W light on camera right, the light being modified through the barndoors to avoid excessive light leaking and destroying the shadows of the face. (shown below).
On the image above, Schyler is lit with the 500W Lowel light high on camera right with a diffuser screen in front of it because the initial shadows were too harsh on Schyler. The wall behind Schyler on the right is lit very dimly by the outside light coming through a window, the light on the left being reflected from a large reflector from the light coming from the Lowel light. I also experimented with setting another light in the restroom and bouncing it but it gave too much of a fill on the right side of Schyler's face.
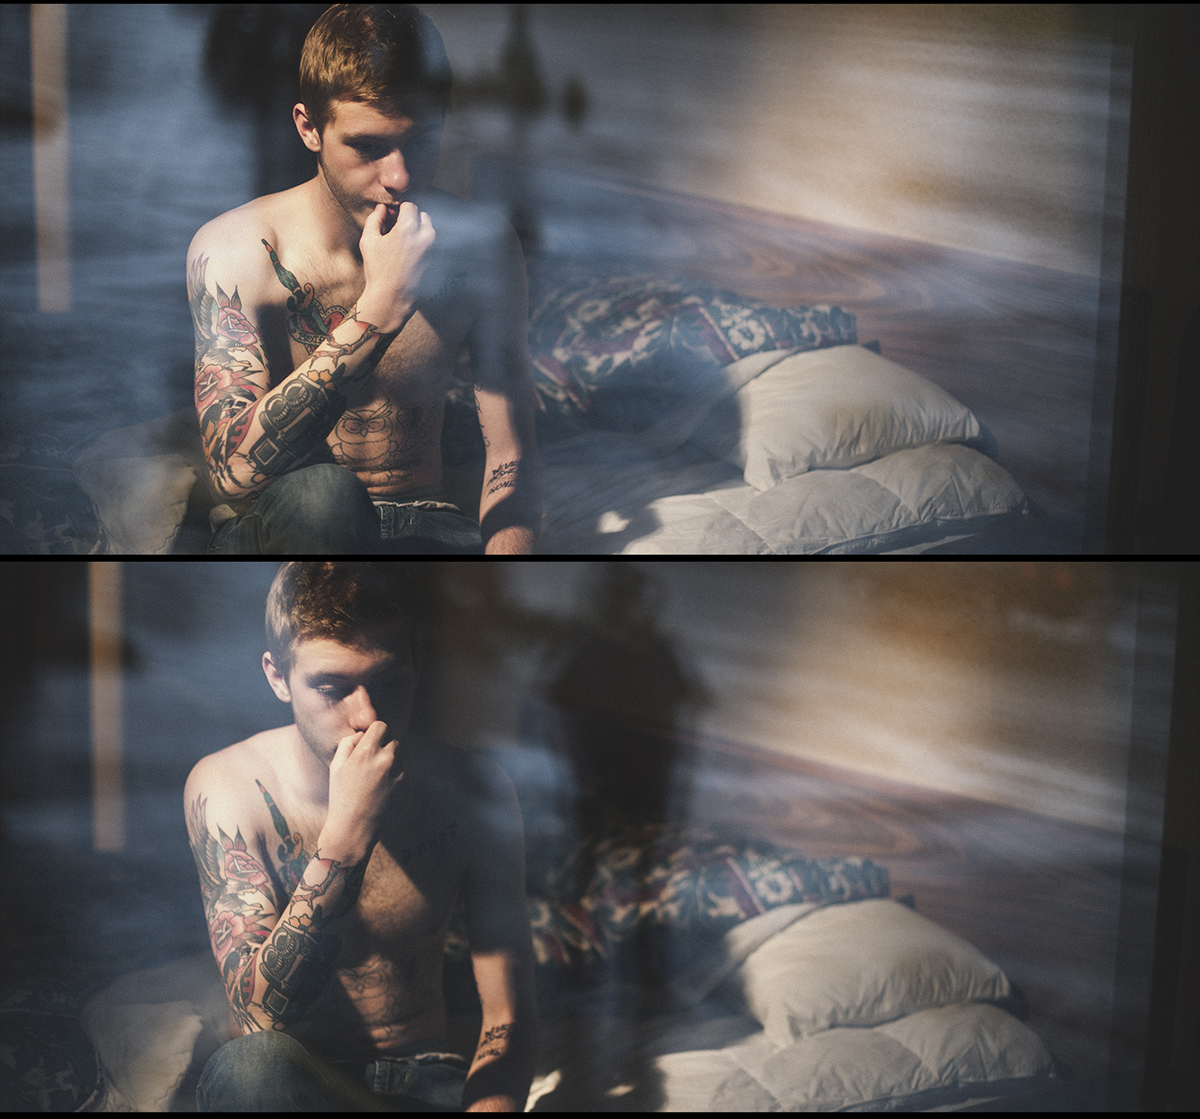
Not shown is the lavalier microphone we hung from an overhead lamp. I hung it just out of view of the camera because when we shot test scenes with the microphone clipped on Schyler it was far too scratchy. Hanging it just out of view produced much better results. Below are some stills from the footage.
This image in comparison with the prior is the difference between adding a bounce board on Schyler's face (top) opposed to not (bottom). Dependent on editing, I may use the bounced footage and tweak thinks in post.
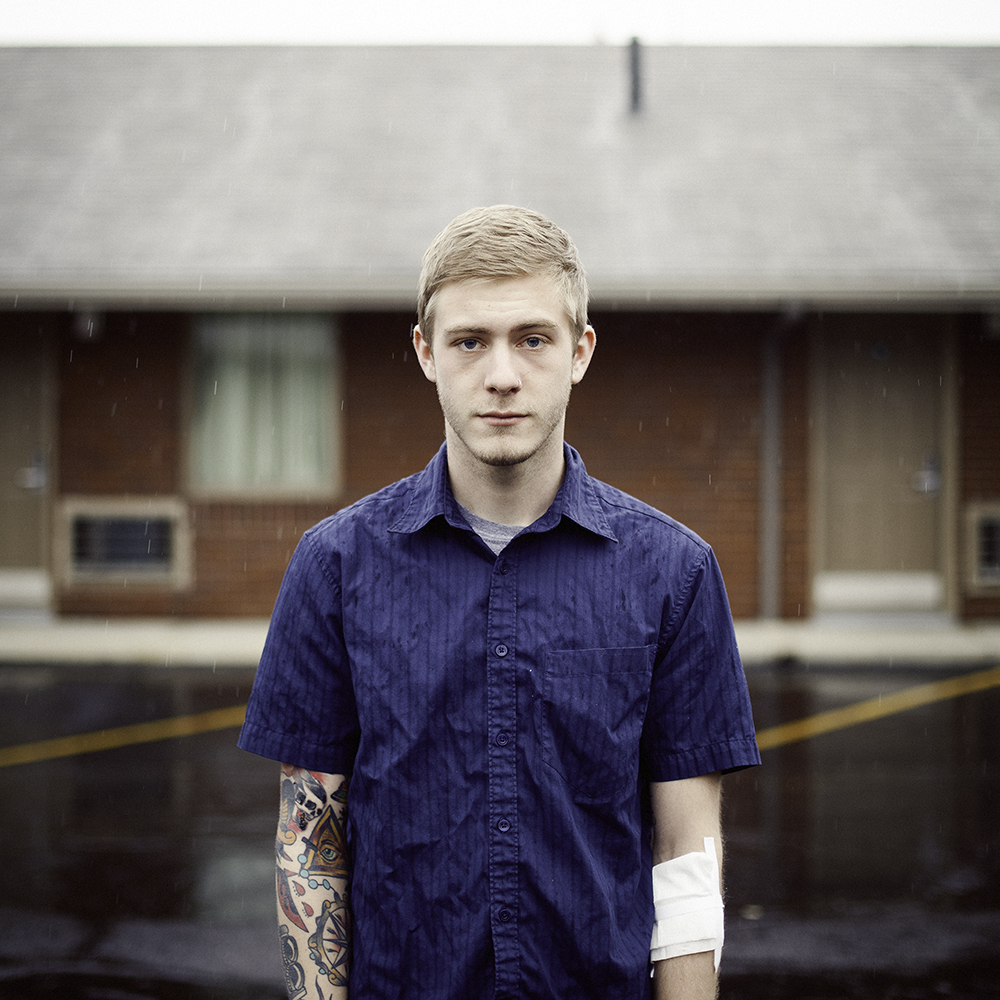
After filming I took a photo series to go along with the project that will be apart of the final. Here are a few shots from it:
An iPhone image and edit.
Final steps include completing the photo series and doing post processing on the footage. I'm in search of the score from the film in order to add another element to my recreation. All went according to plan and the finished product is certainly coming along nicely.
The primary objective of the next step in my project was to shoot the scenes and begin editing stages. Friday afternoon I grabbed some lighting equipment from CCAD with all intent to complete the project Sunday, yet I was told by my actor he had to reschedule because something had came up. Completely understandable and I figured something may come up as he's a student, so I rescheduled our shoot to next Sunday the 28th.
As for this week's update I couldn't possibly let my time and efforts go to waste and become stale simply waiting for next week to roll around, so I took initiative. One of my worries for the upcoming project was creating the light patterns from the film to mimic the shadows and highlights and recreate the scene from a DP standpoint.
I made it a goal to use the equipment I had taken out for the weekend to try and experiment with a few different lighting processes that I could use in unison with ambient light or completely confuse the audience and make them believe the light they were seeing is completely natural sunlight when in reality it's just Hollywood tricks.
Two kits were in my possession Sunday afternoon when I began the experiments. A Lowel DP Kit and a Mole-Richardson Kit. I've been experienced with both sets of lights in Studio Photography Class and knew the capabilities of both and began experimenting with ways to emulate a "sunrise" effect from them. The sunrise effect interested me based on the light coming through the motel window in "Memento".
An image of the set up showing the shadows and highlights on my face and showing the emulation of the sunrise effect.
The first thing I did was set up a 650W Mole-Richardson fresnel light in a completely different room than I would be experimenting in. I put it high and pointed it low and in the room i'd be shooting in. To create the style I gave it some obstacles to go through such as a ladder and mop handle which allowed shadows to hit the floor in a harsh manner like you'd see in your living room during a sunrise or sunset.
I used the light in combination to the ambient sunlight coming through the windows of the house I was in and set the White Balance on my camera to Kelvin Temperature and balanced it to give the shot more warmth based on the Mole light, emulating a warm toned sunrise.
Here's the image straight off camera. Notice the shadows on the floor and the warm tones on camera left where the Fresnel Light was being directed. The set up also had a fill light of a bounced Lowel DP Light in a softbox bounced off of a wall in the other room. It was so faint that it wasn't even worth showing a before-after considering the effects could be bumped in post processing anyway.
After this I began to toy around with the same idea but different execution. I took some self portraits closer to my face and played with the shadows emitting from the chair I was sitting on. I'll be using a 70-200 for close up shots next week so I figured I show experiment with them.
I set my 50mm lens to 1.4 simply to experiment with the idea of using shallow DOF in the footage next week but found it excessive and potentially distracting for the project at hand.
Later that night I proposed a shoot that was the same idea of the "Memento" shoot. I emulated a scene from Fight Club and took the exact same route i've taken for this entire project. Location scouting, actor scouting, lighting study, etc etc. This project would provide a good insight on what to expect on how next Sunday will run via production time and my ability to direct and set up lighting. I had the equipment available to me so I set out to do this project and give me a little confidence going into next Sunday's events as well as give me more insight on lighting procedures.
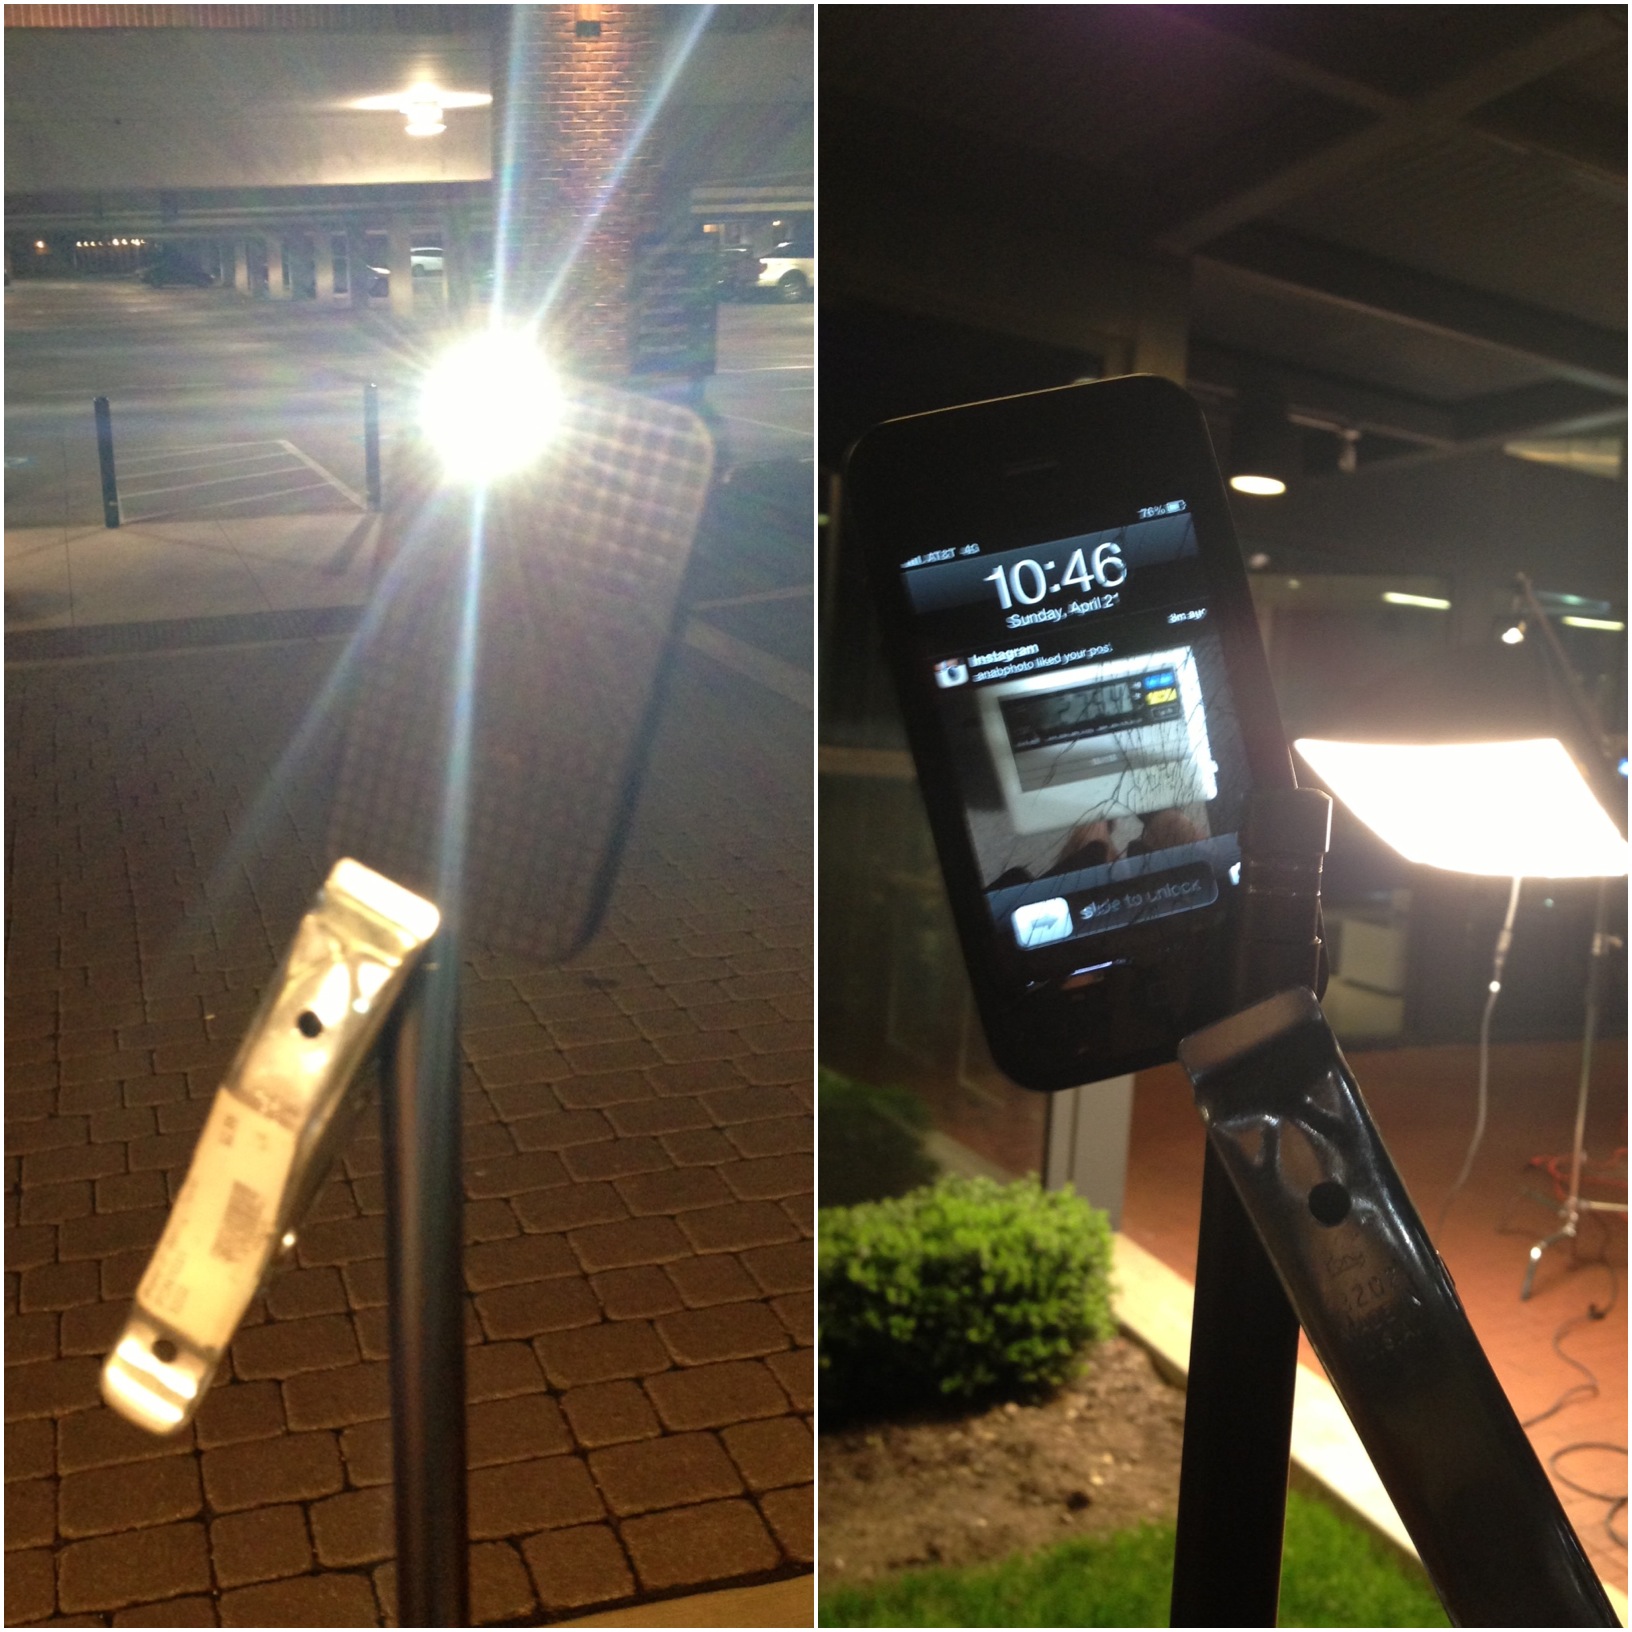
I decided to promote some enginuity and use my iPhone as a fill light behind our actors. It gave a nice blue cast in comparison to the main fill light and ambient lighting of the location.
A still taken on location with the iPhone light as a fill emitting the cold blues on the outside of Johnny's face.
The shoot itself began at 10pm and ended around 2am with assistance from Johnny Hochstetler and Collins Laatsch. 3 lights were used, a Lowel DP light with a square softbox, an iPhone flashlight, and an LED on camera video light.
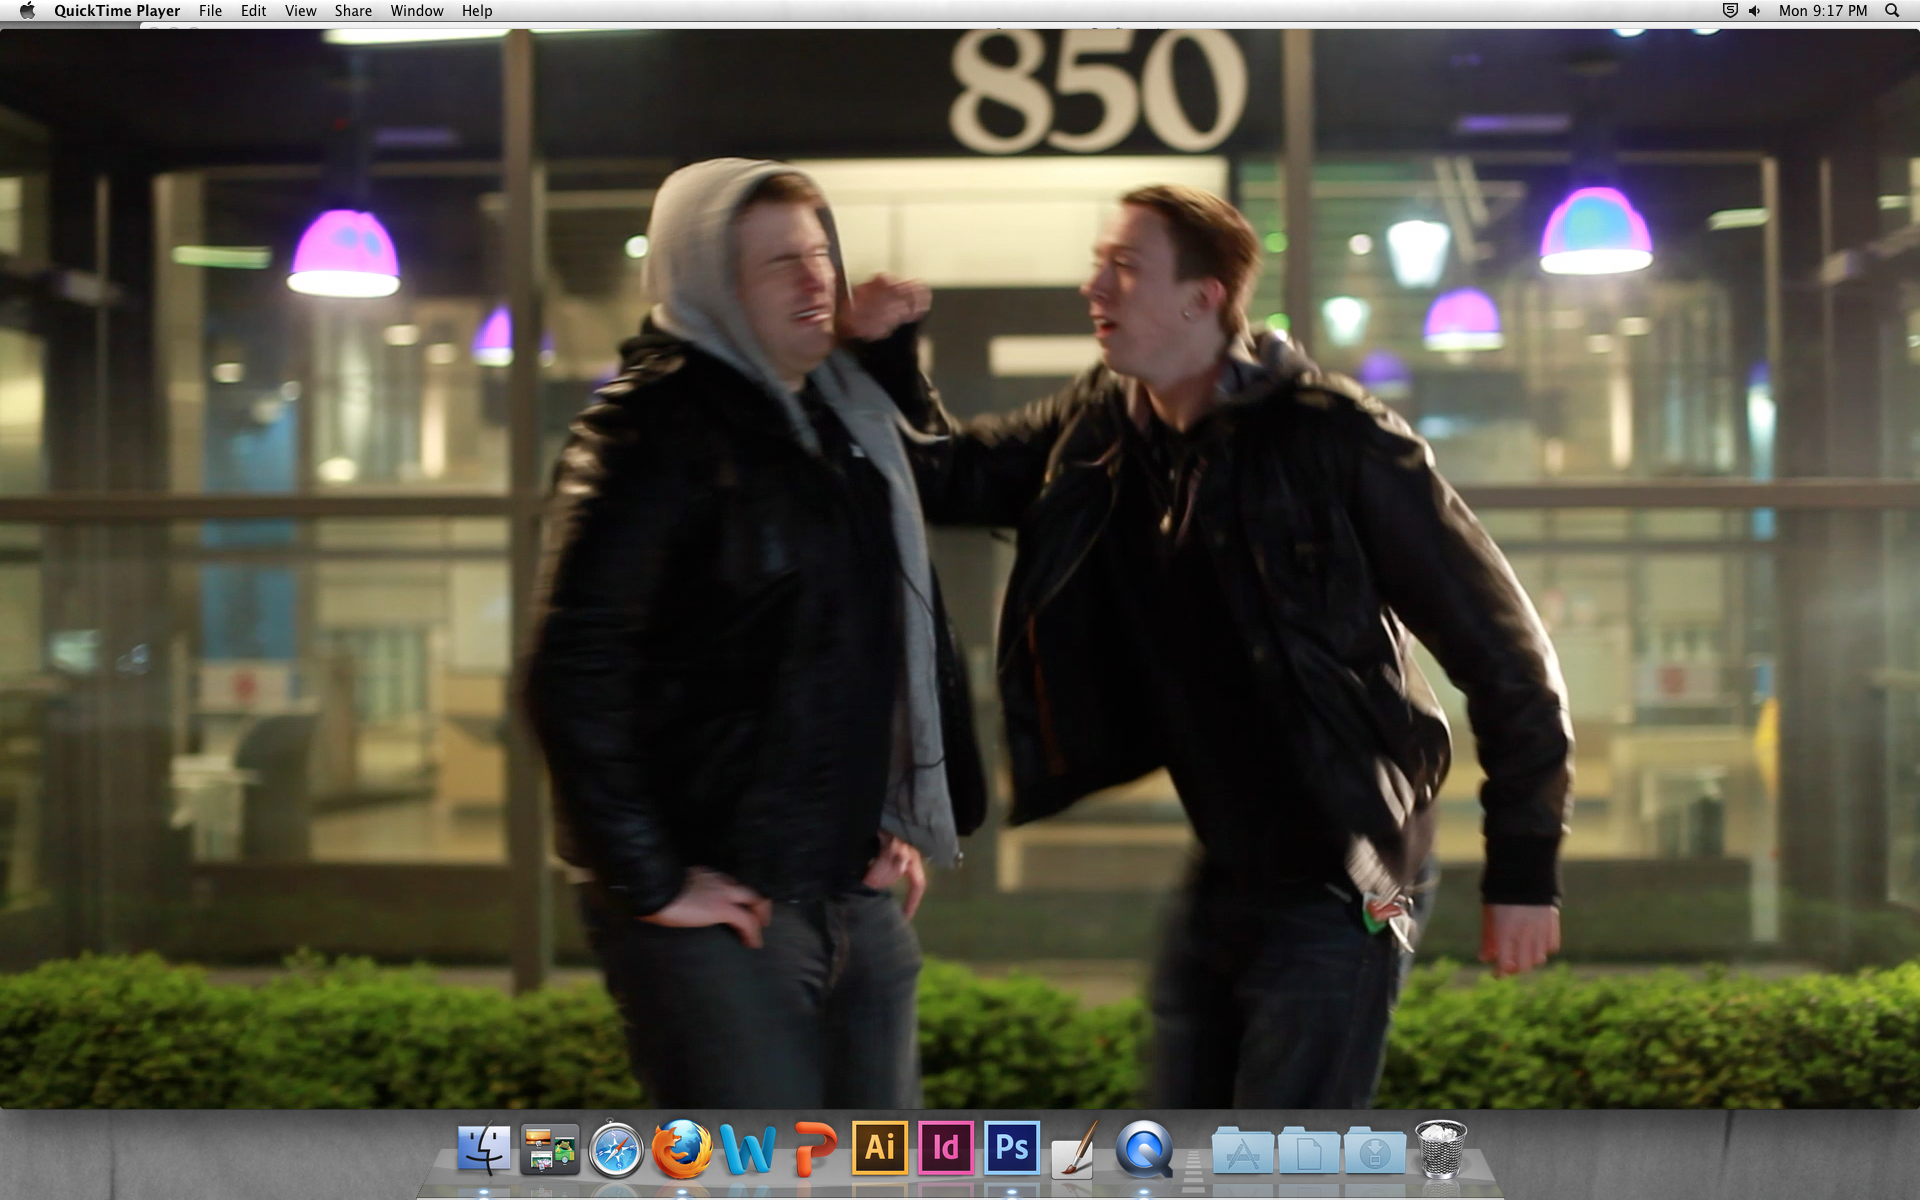
Here's a still from the footage from the night of me getting punched in the face. Enjoy.
What I took away from the shoot is that a.) have your actors aware of who they're playing inside and out. b.) Always be aware of your microphones and always sound check (we've got a lot of "scratchy noise" footage from our Lavs). and c.) if you think the shoot is only going to take 1 hour, multiply that by 4 and that's how long it'll actually be.
I'm grateful I had the opportunity and people willing to show up for the occasion. I've got a new sense of preparedness going into the "Memento" shoot next Sunday.